How To Fix Peeling Or Flaking Paint On Wall
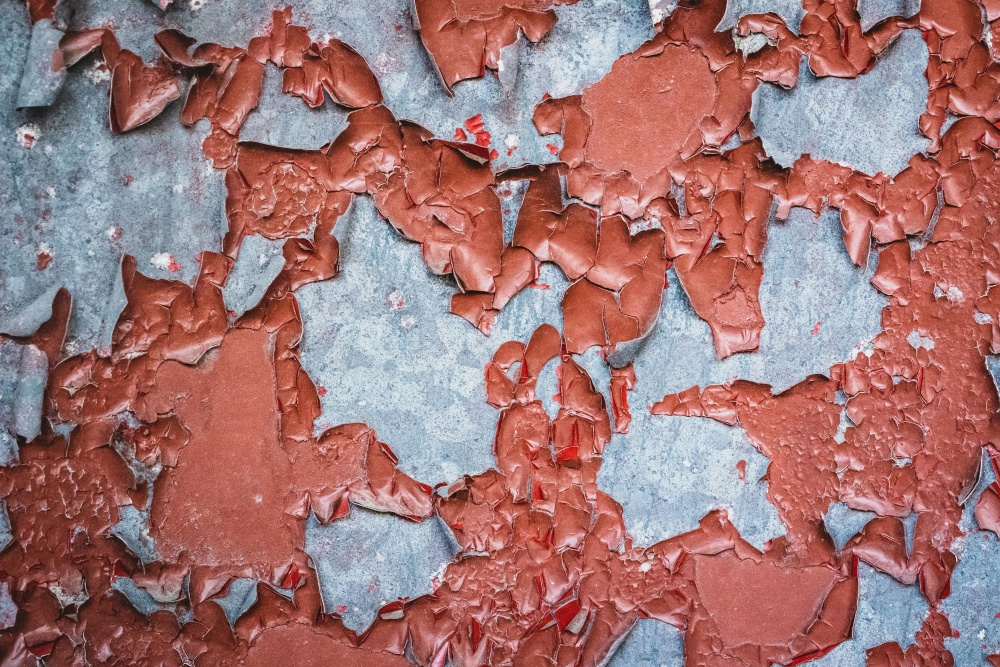
Peeling or flaking paint is a common problem that detracts from a home’s aesthetic appeal and often signals underlying issues. Addressing this promptly is crucial not only to maintain your walls’ visual appeal but also to preserve their structural integrity. This guide will help you know the causes of peeling paint, how to fix it, and provide preventive tips to stop it from happening again.
Understanding the Causes of Peeling or Flaking Paint
Peeling or flaking paint on walls is caused by various sources, and finding the root cause is essential to know how to fix and prevent it.
Here’s a breakdown of the common culprits:
Moisture Problems
Excess moisture is a primary cause of peeling paint and is especially common in humid areas like bathrooms, basements, and kitchens where leaks and condensation can also contribute to the problem.
Inadequate Surface Preparation
Painting over dirty, greasy, or unprimed surfaces can prevent the paint from bonding correctly, leading to peeling. Similarly, failing to remove existing loose or peeling paint before applying a new coat creates a weak foundation for the fresh paint.
Using Incorrect or Low-Quality Paint
Using expired or incompatible paint types can cause adhesion issues and peeling. For example, applying latex paint over oil-based paint without a primer can prevent the latex paint from properly bonding, leading to these issues.
Environmental Factors
Extreme weather conditions like heat, sunlight, or cold can cause the underlying surface to expand and contract, stressing the paint film. Meanwhile, poor ventilation during and after painting can trap moisture, hindering proper drying and leading to adhesion problems.
Step-by-Step Guide to Fix Peeling Paint
So, how do you go about fixing flaking and paint chips on your walls? To ensure a smooth, long-lasting finish that revitalises your home, consider the following:
Tools and Materials Needed
Before starting, gather the following:
Tools:
- Paint scraper or putty knife
- Fine-grit sandpaper (120-150 grit)
- Paintbrushes, rollers, and a paint tray
- Drop cloths or plastic sheets
- Painter’s tape
- Utility knife
Materials:
- Patch filler or spackling paste
- High-quality primer (e.g., oil-based or stain-blocking primer)
- Paint suited for the area (moisture-resistant for bathrooms/kitchens, durable finishes for high-traffic areas)
- Mild detergent and water
- Cleaning sponge or cloth
- Mask and gloves for safety
Preparation
- Protect the Area: Before you begin to fix the problem, start by safeguarding your surroundings from paint splatter and debris by covering floors, furniture, and other surfaces with plastic sheets or drop cloths. For trims, windows, and other areas you don’t want to paint, protect them by using painter’s tape.
- Inspect the Wall: Carefully examine how much is affected to determine the extent of the peeling paint and if there are any underlying issues such as cracks, moisture damage, or mould growth.
- Ensure Safety and Ventilation: Prioritise safety and ventilation by opening windows or using fans to circulate fresh air and wearing a safety mask and gloves to protect yourself from dust and potential contact with old paint.
Removing Loose or Peeling Paint
Carefully use a paint scraper or putty knife to lift off any loose or flaking paint, ensuring you don’t harm the surface of the wall underneath. If you encounter areas where the paint is not easily removed, gently sand down the edges of the peeling paint while being careful not to gouge the surface to create a smooth transition between the painted and bare sections.
Sanding and Cleaning
Smooth out any rough or uneven areas with fine-grit sandpaper, focusing on blending the edges of the remaining paint with the exposed surface. For larger areas, using a sanding block or an electric sander can make the process more efficient. Once sanding is complete, wipe down the surface using a damp cloth to remove dust and debris, and with a mild detergent and water solution to clean grease or grime on the area.
Repairing Damaged Areas
Apply an appropriate spackling paste or patch filler using a putty knife to fill in cracks, nail holes, or other surface imperfections and spread the filler evenly, ensuring it blends seamlessly with the surrounding wall. Then, allow it to dry completely based on the product instructions to ensure proper adhesion and prevent cracking or shrinkage. After drying, lightly sand the patched areas to achieve a smooth finish that seamlessly integrates with the surrounding wall.
Priming the Surface
- Choose the Right Primer: Using the right primer ensures strong adhesion and a durable, long-lasting paint finish. For instance, a stain-blocking primer is ideal for areas prone to stains, while an oil-based primer may be necessary for heavy-duty adhesion or when painting over oil-based paint.
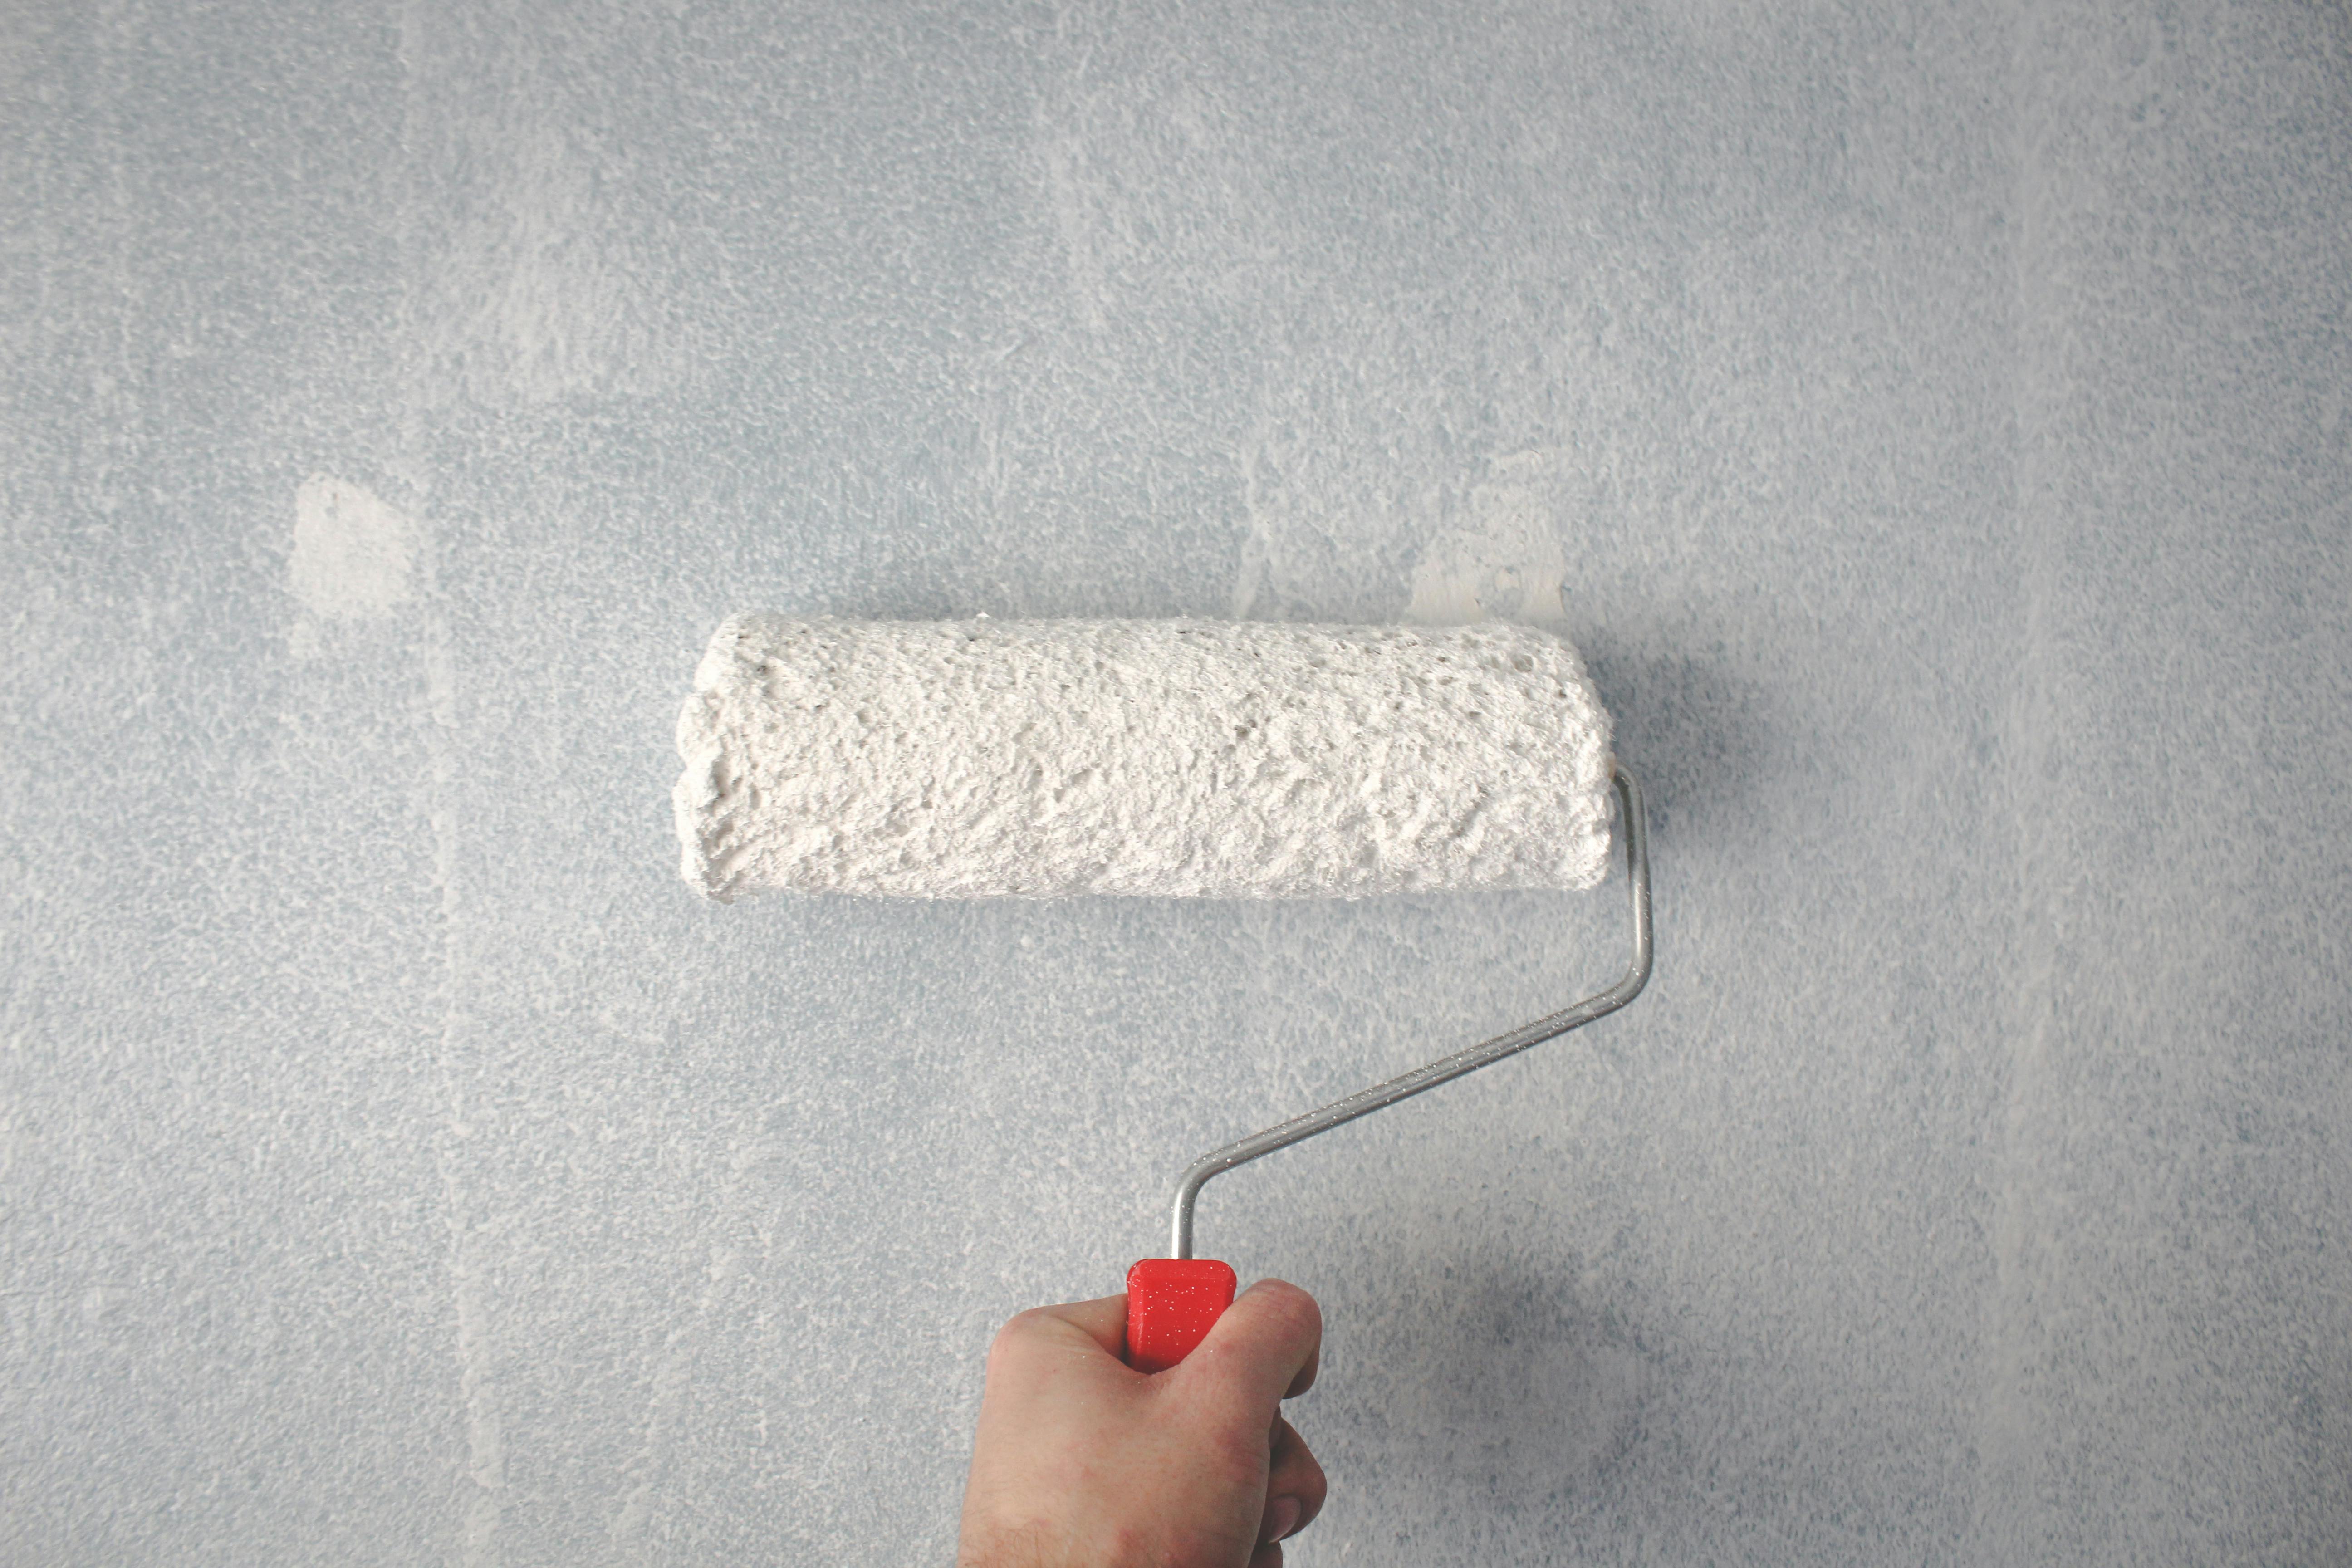
- Apply the Primer: Apply primer with a brush or roller to cover the repaired areas and any spots where paint previously peeled, creating a uniform base that helps prevent future peeling. Lastly, allow it to dry completely according to the product’s drying instructions.
Repainting
- Select the Right Paint: Choose a high-quality paint suitable for the room’s specific conditions. Opt for moisture-resistant paint in humid areas like bathrooms and kitchens, and consider durable finishes for high-traffic zones to minimise wear and tear.
- Apply Paint in Thin Coats: Before you begin, stir the paint thoroughly to ensure an even colour and consistency. Next, apply the first coat evenly using a brush or roller, blending it seamlessly with the surrounding areas. Allow sufficient drying time between coats based on how long the manufacturer recommends.
- Inspect and Finish: Once the first coat is dry, apply a second coat for optimal coverage and durability. Then, carefully inspect the painted surface for any uneven areas, streaks, or imperfections, and fix by touching up as needed to achieve a flawless finish.
- Remove Painter’s Tape: Remove the painter’s tape while the final coat is still slightly wet to prevent it from peeling any dried paint.
Cleanup
After painting, clean your brushes, rollers, and other tools with the appropriate solvent, such as water for latex paint and paint thinner for oil-based paints, to keep them in good condition.
Dispose of paint chips, sandpaper, and other debris responsibly by following local waste disposal guidelines to minimise environmental impact. Also, store any leftover paint in a tightly sealed container in a cool, dry place to prevent contamination, keeping it ready for future touch-ups or repairs.
Preventive Measures to Avoid Peeling Paint
By proactively addressing potential issues and protecting your walls, you can significantly reduce how many times you will encounter and need to fix peeling or flaking paint in the future.
Control Moisture
To prevent moisture-related peeling, start by addressing leaks in your roof, walls, or plumbing and ensure proper drainage by maintaining your gutters and downspouts. In bathrooms, kitchens, and other areas prone to humidity, ventilation can be improved by installing exhaust fans and remembering to open windows during activities like showering or cooking.
For consistently humid environments, consider using a dehumidifier to maintain optimal moisture levels between 30 and 50%. Finally, protect your exterior walls with a waterproof sealant to prevent water damage, especially in damp climates.
Proper Surface Preparation
- Clean Surfaces Thoroughly: Use a mild detergent or degreaser to remove all traces of dust, dirt, grease, and stains from the walls because dirty surfaces can prevent paint from bonding properly.
- Prime the Surface: Always apply a suitable primer before painting, such as a moisture-resistant primer for humid areas, especially on porous surfaces or when painting over existing paint.
- Remove Old Paint: Thoroughly scrape off any loose or flaking paint to create a stable base for the new paint and prevent peeling.
- Dry the Surface: Make sure the surface is fully dry before applying primer or paint to prevent moisture-related issues like blistering and peeling.
Use High-Quality Materials
- Choose the Right Paint Type: Select a paint that is appropriate for the room’s conditions, such as moisture-resistant paint for bathrooms, weatherproof paint for exteriors, or durable finishes for high-traffic areas. Opt for premium paints with added durability and resistance to peeling, cracking, and fading.
- Buy Quality Tools: Invest in high-quality brushes, rollers, and sprayers to ensure even paint application and better adhesion.
- Check Paint Expiration: Always use fresh paint, as expired or improperly stored paint may have compromised adhesion properties.
Timing and Environmental Considerations
To ensure proper paint adhesion and curing, it’s essential to consider environmental factors during and after painting. Aim for moderate temperatures between 10°C and 30°C or 50°F to 86°F as extreme heat or cold can affect drying and bonding. With that, avoid painting in direct sunlight, which can cause rapid drying and cracking, or in high humidity, which can slow drying and lead to moisture issues.
Moreover, allow sufficient drying time between coats to prevent trapped moisture and weakened adhesion, and let the paint cure fully by avoiding heavy cleaning or scrubbing of freshly painted walls for at least two weeks.
Regular Maintenance
To keep your paint looking its best, make sure to:
- Inspect Walls Periodically: Inspect your walls periodically for any early signs of peeling, cracks, or moisture damage. Addressing these issues promptly can prevent them from worsening and potentially save you from a more extensive repair job later on.
- Repaint Before Major Wear: Don’t wait for the paint to deteriorate completely before repainting; refreshing your walls every 5-7 years, depending on the paint type and the room’s conditions, can help maintain their pristine appearance.
- Clean Gently: When cleaning your walls, opt for gentle methods, such as using mild soap and water to avoid damaging the paint and potentially causing peeling.
Avoiding Common Mistakes
Whether a professional or a beginner learning how to fix peeled paint, it’s important to steer clear of these common mistakes:
- Don’t Skip the Primer: Always use a primer, especially when changing paint types or colours, to ensure proper adhesion.
- Don’t Paint Over Peeling Paint: Thoroughly scrape and prepare the surface, removing all loose paint before applying a new coat.
- Don’t Rush the Process: Follow the manufacturer’s instructions for drying and curing times to prevent peeling and cracking.
When to Call Professionals For Peeling Paint

When the Problem is Extensive
If you’re dealing with large-scale peeling or flaking paint on a significant portion of your wall or ceiling or multiple rooms, it may signal underlying structural or environmental issues that require professional attention. In these cases, consulting with experienced painters is best to assess the damage and recommend effective solutions. They have the tools, expertise, and manpower to ensure a consistent, high-quality finish throughout your home, even if there are multiple rooms to paint.
When There Are Underlying Issues
Persistent issues like peeling caused by leaks, high humidity, or mould often point to underlying moisture problems that require professional inspection and repair. This is because simply painting over these issues will lead to recurring damage. Additionally, mould can pose health risks, so it’s crucial to have professionals safely remove and treat affected areas before repainting.
Meanwhile, structural damage, such as cracks, crumbling plaster, or water-damaged drywall, may also need specialist repairs to ensure a smooth, long-lasting finish.
When Dealing with Hazardous Materials
Even with regulations like Singapore’s ban on lead-based paints, older structures may still contain hazardous materials, posing risks to those who disturb them. In rare cases, walls or ceilings may also contain asbestos or other toxic substances requiring specialised handling. Professional painters are equipped to deal with these materials safely, ensuring that your health and safety are not compromised during the process and everything is disposed of in accordance with health and safety regulations.
When High-Quality Results Are Essential
For a flawless finish, particularly in high-visibility areas like living rooms or feature walls, professional painting services deliver smooth, even, and long-lasting results. They are also skilled in specialised techniques, such as decorative finishes or textured walls, achieving precision that can be challenging for DIY projects. Additionally, they provide expert guidance on colour selection and coordination, ensuring a cohesive and visually appealing look throughout your home.
When You Lack Time or Tools
If you’re short on time and need the painting done quickly, professional painters can efficiently complete the job without compromising quality. They have the experience and equipment, including high-quality brushes, rollers, sprayers, and scaffolding for hard-to-reach areas, saving you from the hassle of buying or renting tools for a one-off project.
For Exterior Walls and Challenging Locations
Exterior walls face unique challenges from weather exposure, requiring specialised preparation and weatherproof paints for a durable finish. Professional painters have the expertise to protect your home from sun, rain, and temperature fluctuations and are also skilled in safely using scaffolding and ladders to reach high ceilings or stairwells to ensure both safety and a high-quality finish in those tricky areas.
Indicators That Professional Help is Needed
If you’re facing these issues, professional help is necessary.
- Persistent Recurrence: If peeling paint returns despite your DIY fixing efforts, it’s likely due to deeper issues requiring professional assessment.
- Visible Signs of Structural Damage: Cracks, bulges, or sagging paint may indicate structural problems needing expert repair.
- Uncertainty About the Cause: If you’re unsure how and why the paint is peeling or flaking, professionals can precisely identify the issue and suggest effective solutions.
From Flaking to Flawless: Your Paint Repair Journey
Peeling or flaking paint can be frustrating, but with the right approach, you can find out how to fix the problem and restore your walls to their former glory. While DIY repairs can be cost-effective, consider professional help for extensive damage or unclear issues. Colour Creative offers expert condo and HDB painting services in Singapore, providing solutions for everything from minor repairs like paint chips on walls to full-scale repainting projects.


Leave a Reply